A modern recipe journal
Cook curiously.
Eat generously.
Approachable recipes, inventive bakes, and thoughtful food stories for everyday tables.
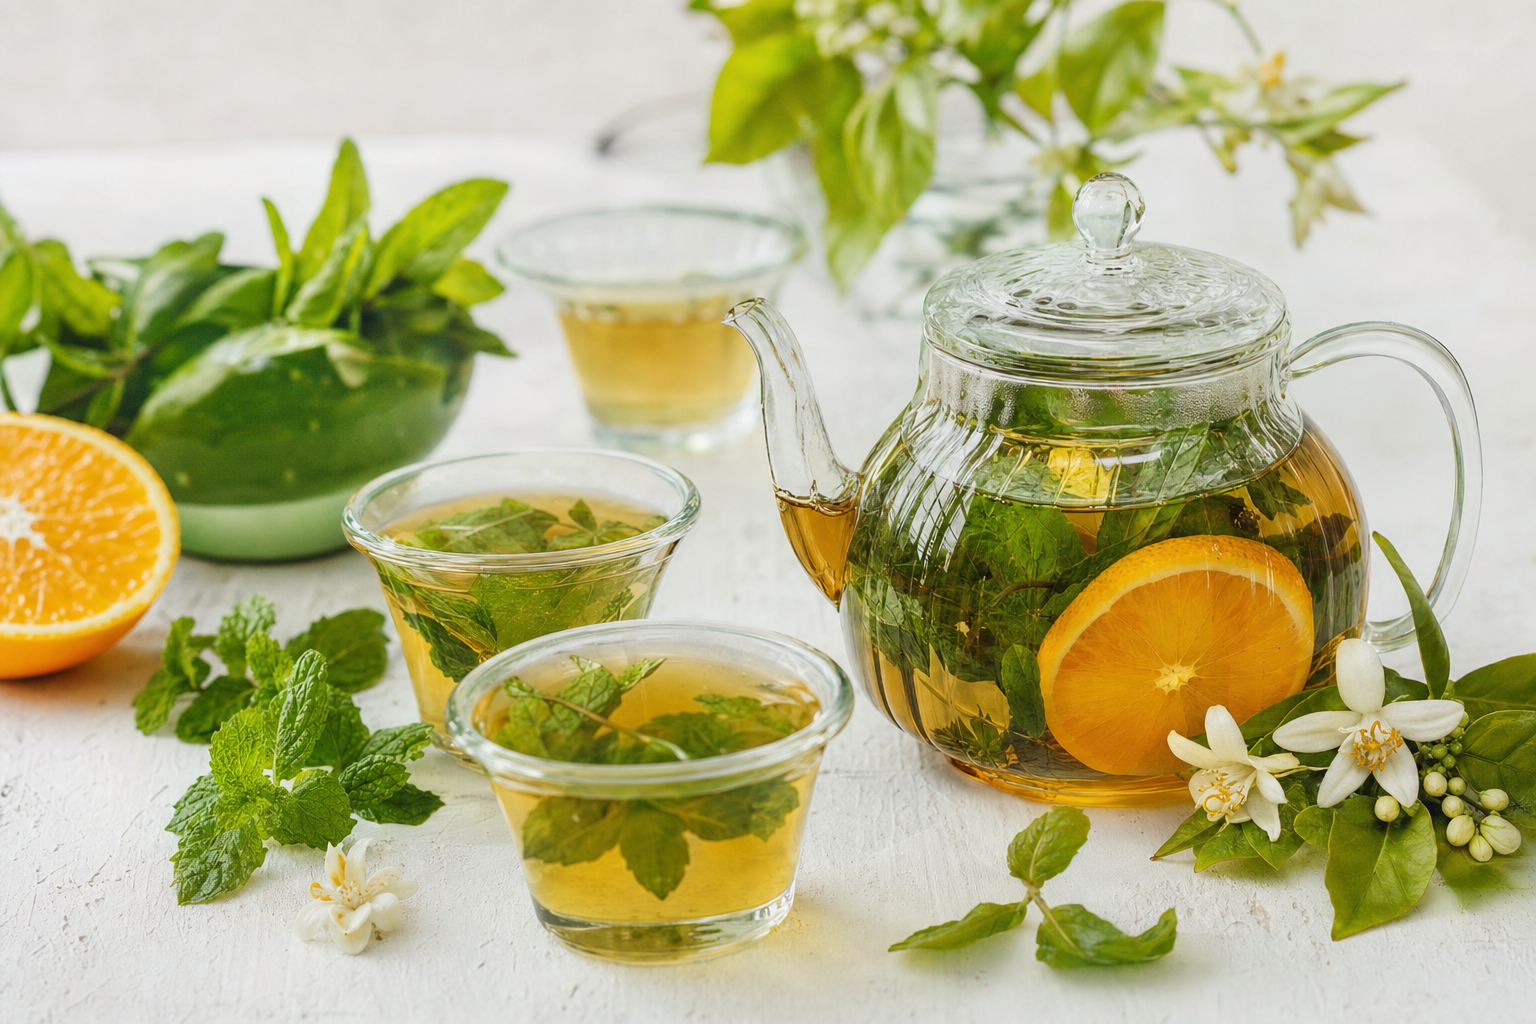
Quick meals•Big-flavor vegetables•Weekend baking•Tea & drinks
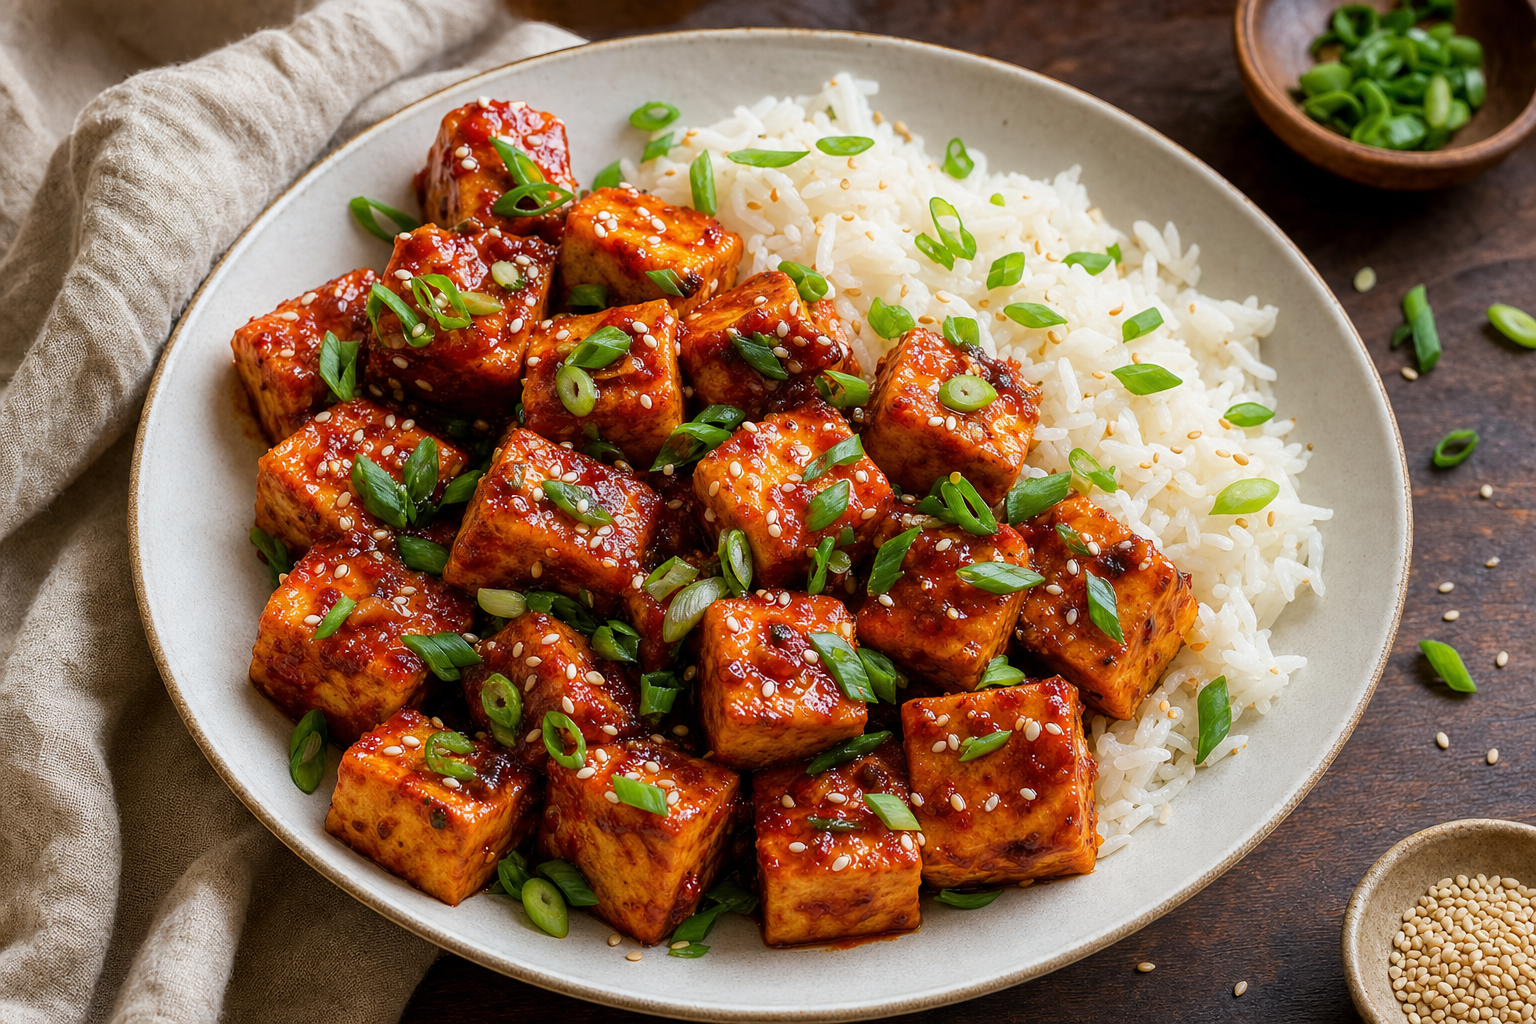
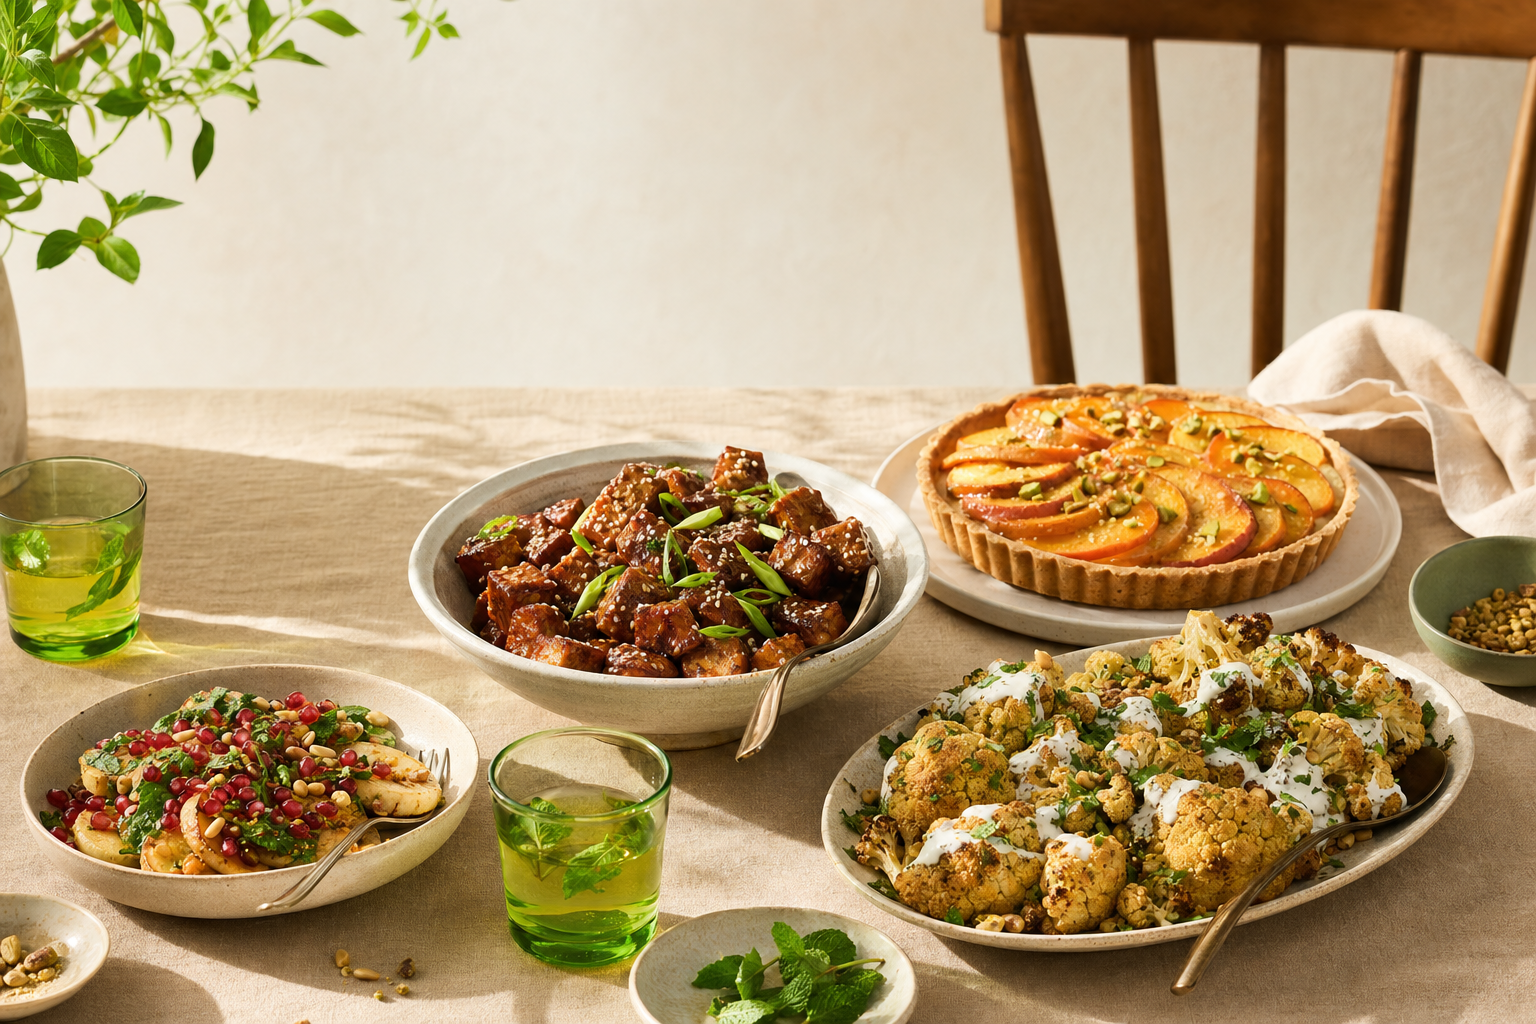
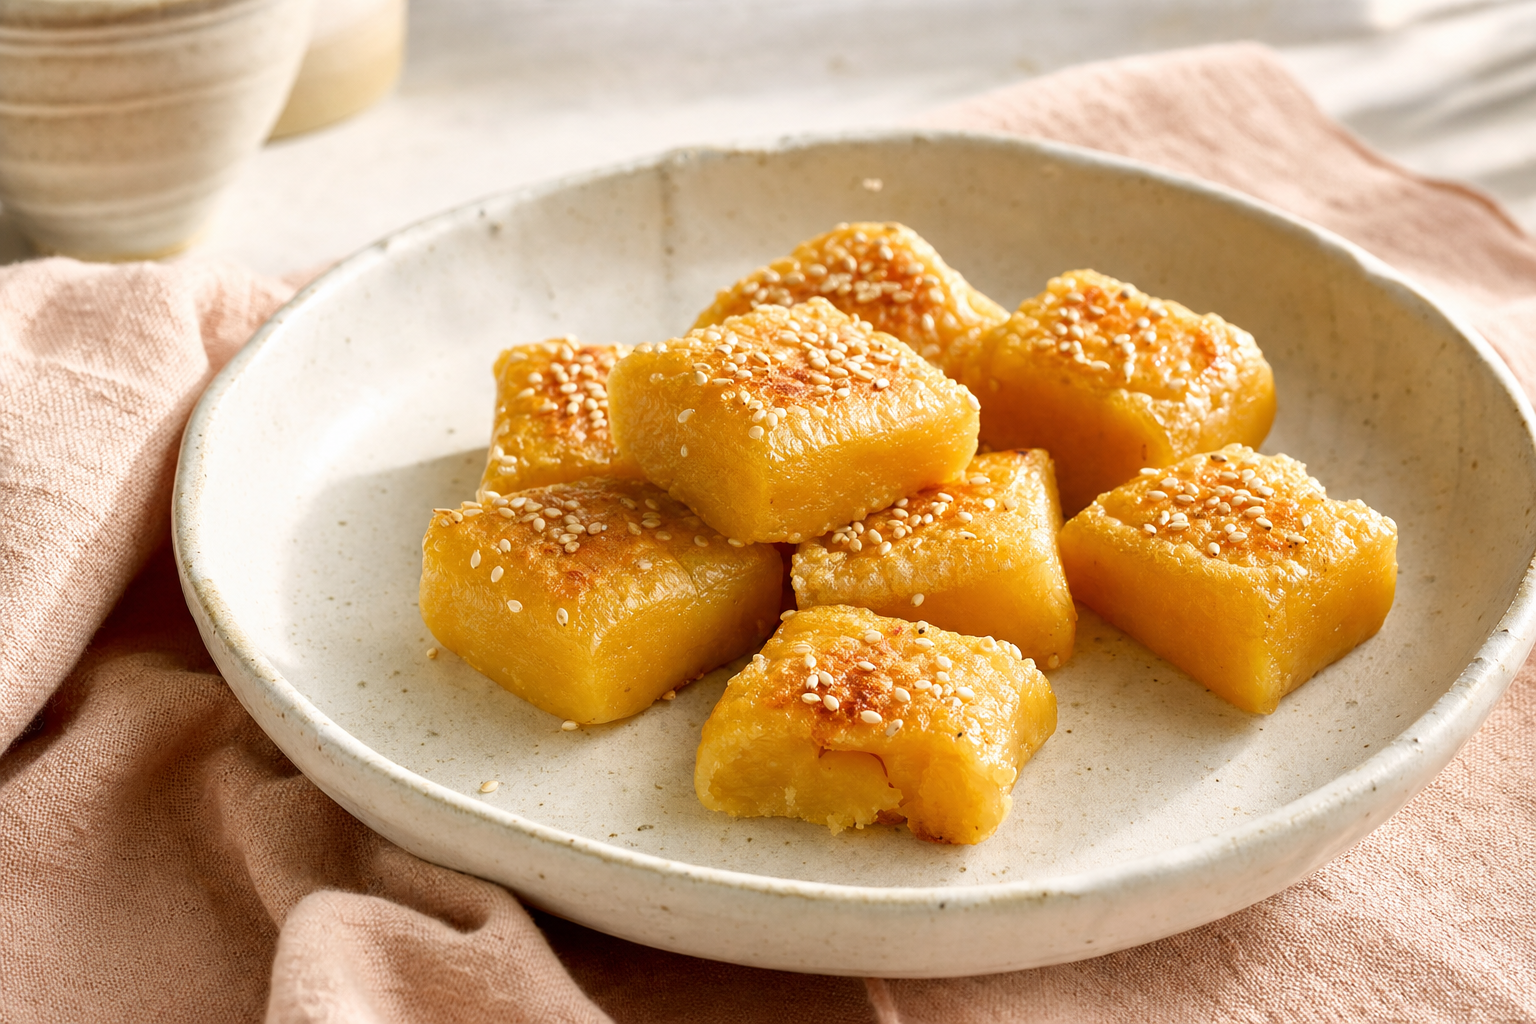
Fresh from the kitchen
What to cook next
The Glutton point of view
Good food isn’t about perfection. It’s about paying attention—and always wanting another taste.Browse every recipe
Kitchen notebook
Stories behind the plate
Ingredient histories, responsible travel-inspired cooking, and the small observations that make us better cooks.
Read food stories